|
|
|
Solar Thermal Photovoltaics
|
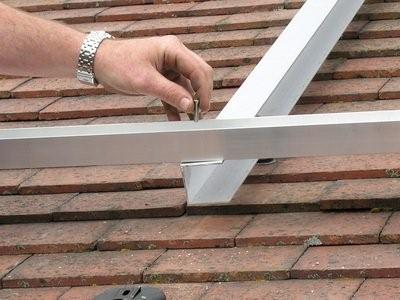
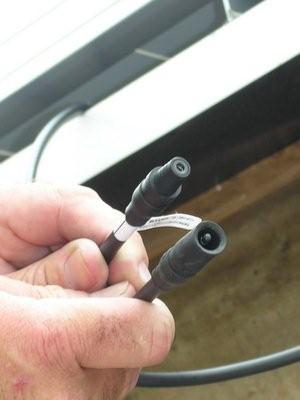
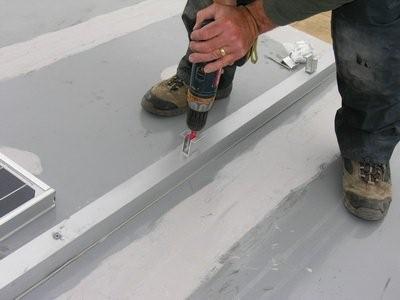
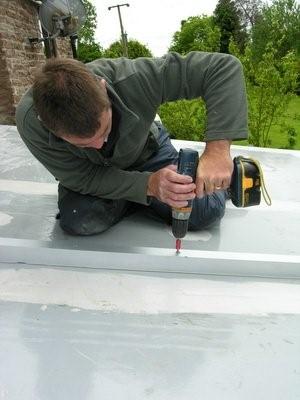
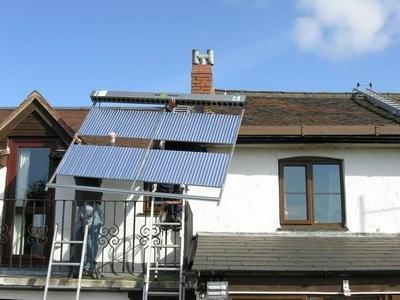
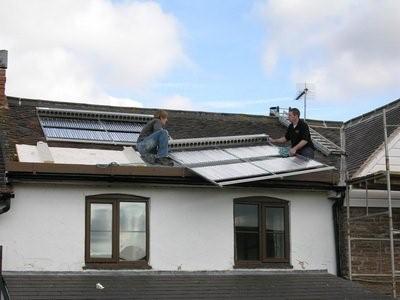
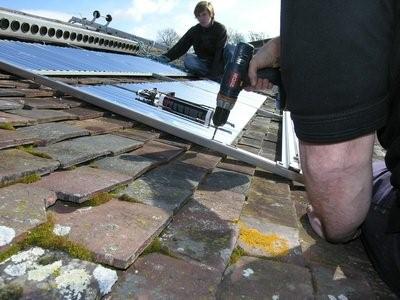
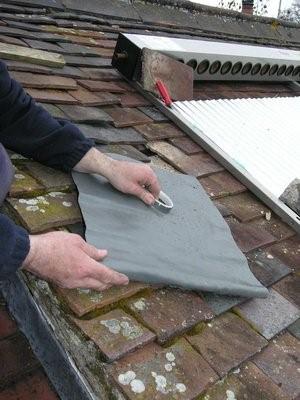
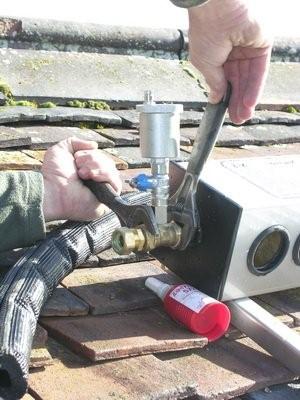
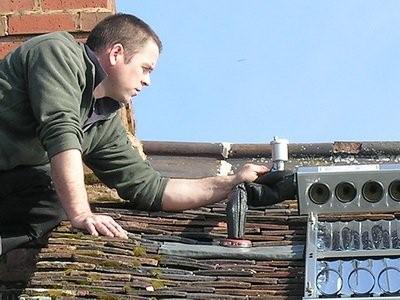
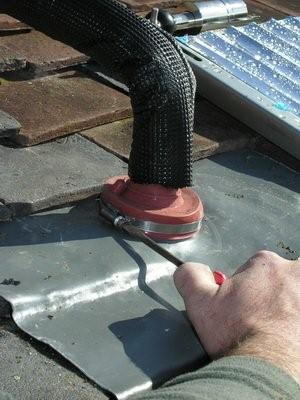
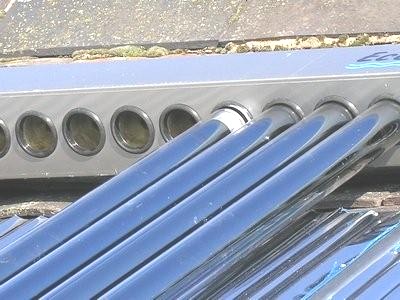
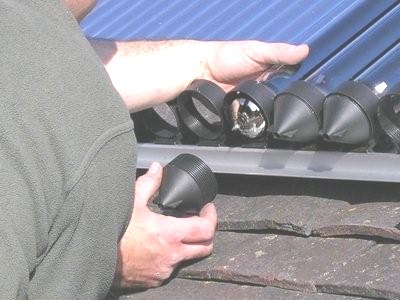
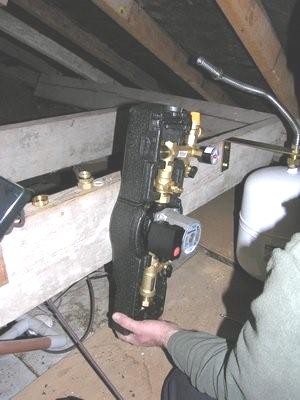
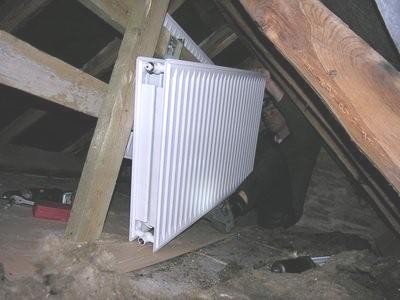
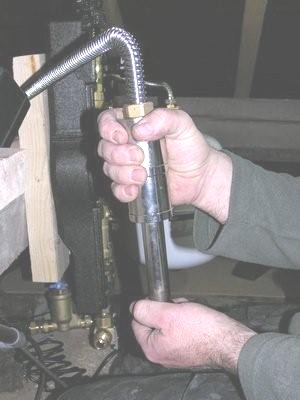
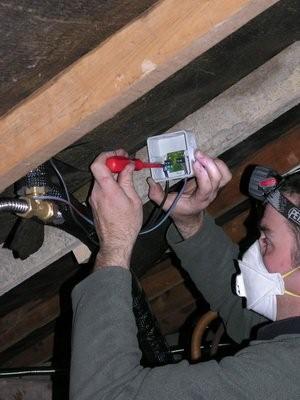
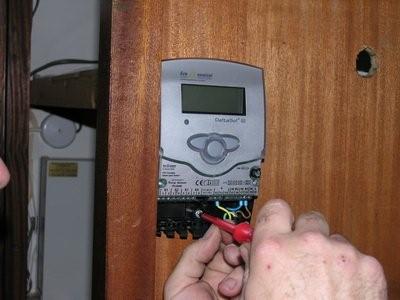
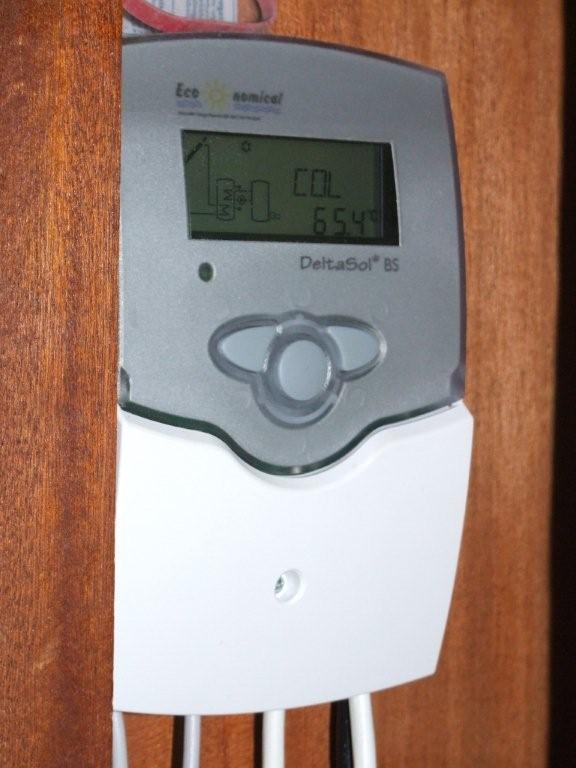
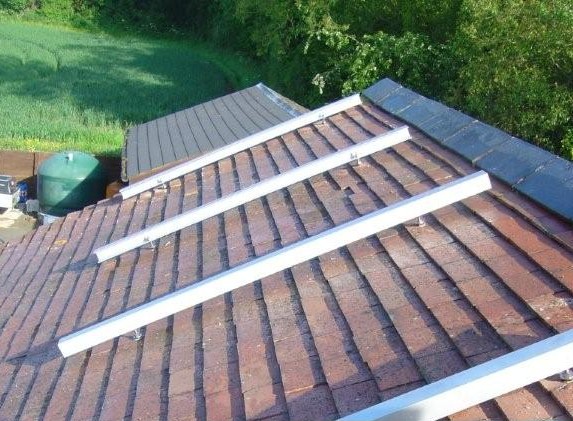
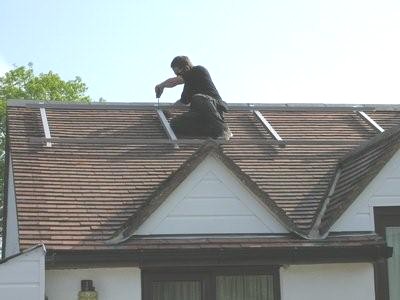
Lindsay Porter contacted us after reading this website, with a view to introducing a selection of renewable technologies to his house. Lindsay is a technical author and is responsible for writing many of the popular Haynes series of car repair manuals. For more about his company and books, see here. As well as the usual reasons of lower fuel bills and reduced environmental impact, Lindsay wanted to install the equipment in order to write the Haynes manual of renewable energy, which will be published in due course. Justin Walters of JW Solar carried out the installation, starting with solar thermal, and moving on to a 3.2kW photovoltaic system. Justin writes: "Lindsay's home was originally heated by an oil boiler, electric immersion heaters and a 2 cylinder system that served different parts of the property. The changes planned were as follows 2 x Eco-58-1800-30 collectors with heat-dump Hot water back boiler to be fitted to existing wood stove Complete revamp of hot water system removing the two old cylinders and replacing them with a 250 litre triple coil cylinder to supply the whole property. Subsequent installation of 18 x 180 Watt Sharp PV Panels with a total size of 3.24kW Solar Thermal Installation The Solar Thermal was the first install to be tackled, and 2 x Eco-58-1800-30 collectors were fitted to the roof. This purposely oversized system was designed for maximum output throughout the year. Lead slates were used to make a tidy and watertight seal around the roof penetrations. When using with small tiles the easiest option is to remove a few tiles to allow you access the loft or roof space without drilling. If installing on large concrete tiles then I normally drill in the centre of the tile with a 25mm Core drill to gain access. A 3kW heat-dump was used incorporating 2 x 1.5KW radiators housed out of the way in the roof area, with a Resol VA32 3 port Valve to control flow between Cylinder and Heat-Dump. This will allow the system to continuously run even in the best British weather, not allowing the system to stall and stagnate. A 3 coil cylinder was installed and the primary coil connected to the oil boiler. This may later on be replaced with ground source heat pump. The solar coil, situated at the very bottom of the cylinder was connected with ease after I asked the cylinder company to supply 22mm solar connections. I have found his size is 100% reliable and I would recommend anyone who is thinking of installing a system to try and terminate in 22mm, as it is easier to avoid leaks compared to 15mm which can easily be over tightened and also can suffer from loosening at high temperatures. All pipe work was ran in DuoSolar pre-insulated corrugated stainless. Note that there is no need to insulate the section of pipe work in the attic which leads to the heat dump, as heat loss here is a good thing. The system was air pressure tested before filling to ensure no leaks and then filled to 2 bar with glcol." Note Justin's trade tips here: no need to drill for pipe access if lead flashing is used on a roof with small tiles, specify 22mm solar coil connections on the cylinder, don't insulate the heat dump circuit, and pressure test with air first. Note that for a busy installer Duo solar is more economical as it has fewer connections and is already insulated, and its extra cost is outweighed by the time saving. If you are using 15mm copper, you can simply use a 15-22mm adaptor at the coil if you still wish to follow Justin's advice, and you still have the advantage of robust connections to the cylinder, which is an expensive place for a connection to fail!
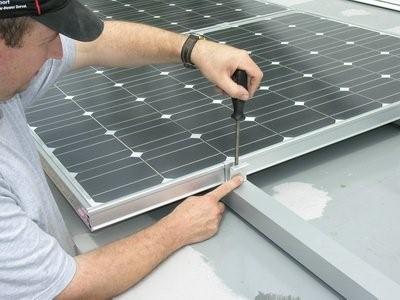
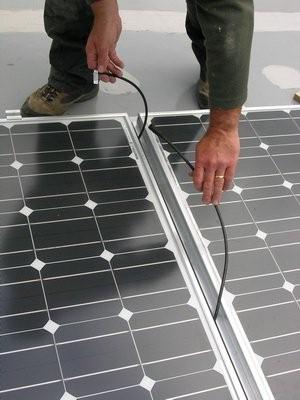
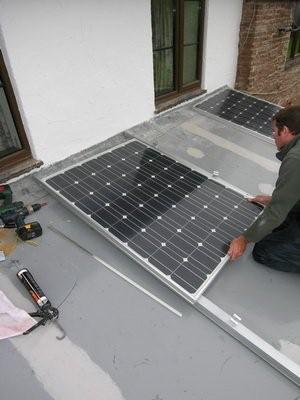
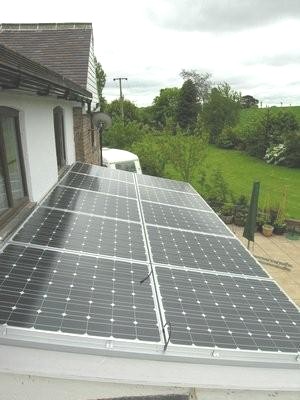
Photovoltaic installation Justin continues: "A Total of 18 x Sharp 180w Panels were installed on the property in 2 separate arrays (3.24KW in total). The first array of 10 panels, totalling 1.80KW fitted with a SMA Sunny Boy 1700 inverter. Another Sunny Boy 1700 was also used of the other 8 Panels totalling 1.44KW. 2 separate inverters were purposely used due to shading early in the morning from the property allowing maximum output and efficiency. Also the arrays can be increased in size later without the cost of buying or replacing Inverters. A ROC meter was fitted on the AC side to allow Lindsay to export his electricity back to the grid. A range of different fitting options were used on this install to fix panels in place securely. The array should generate a minimum of 2400KWH per year and if 50% of these units were exported back to the grid it would give Lindsay a credit (at the time of writing) of £340.20. If more were exported then this figure would increase. This is useful to consider if the property is unoccupied during the day as export could be as high as 90% almost doubling the figure above. It is also important you try and minimise the appliances left on to keep the export figure as high as possible. Of course it is possible to consume all electricity generated depending on your usage."
Thanks to Lindsay and Justin for this information.
|
Send mail to
SW@eco-nomical.co.uk with questions or
comments about this web site.
|
.jpg)
.jpg)
.jpg)
.jpg)

.JPG)
.jpg)
.jpg)
.jpg)
.jpg)
.jpg)
.jpg)
.jpg)